
Your cart is empty.
How to Teach Loose Leash Walking: Leash Training Basics
Step 3 of 8 in the Dogly Walking Channel
The most common question I get from pet parents on leash training is, "How do I get my dog to stop pulling on leash?"
We all want our dog to walk perfectly by our left side, but when our dog starts pulling us immediately out the front door, that might not be our walking reality yet - but it can be!
If your dog pulls on leash, you’re not alone. Most dogs pull - very rare is the dog who can start walking “politely” (in human terms) with no instruction. Most dogs need training to learn not to pull on leash -- it's one of the most natural behavioral issues for our curious dogs who want to explore and have fun when they're out for a walk!
To start training your dog to walk with a loose leash, make training sessions as easy as possible to begin with so you can start building a STRONG reinforcement history. If we get impatient and skip ahead a few steps, it will cost us in the long run.
Your Dog's Plan
Stop! Don't read this long article. Instead, get everything you need to know, including all advice on Leash Manners, in a customizable step-by-step plan for your dog created by our community of certified trainers and nutritionists.
You will need:
- Treats. Small and smelly is best - a tasty treat your dog loves. Don’t skimp out. No milk bones, please. (Small because quicker to chew and keep moving. AND you'll reward frequently with LOTS of treats so you want to keep your dog at his/her healthiest weight.)
- A way of delivering treats. A treat pouch is preferable since it allows you to be hands-free, and is easy to reach into quickly as you're holding the leash. If you want to use your pockets you better have deep pockets!
- A harness (or flat collar). I highly recommend all dogs wear a harness - better for your potentially pulling dog's neck/throat/shoulder health as well as easier for teaching your dog to walk on a loose leash. A flat buckle collar may be fine (never a chain collar that can hurt your dog!) but a collar may not be practical until you’ve practiced quite a bit and your dog is able to walk politely on a loose leash like a dog training pro.
- A leash around 6 feet in length, rope or nylon or leather. NOT A RETRACTABLE LEASH. (A retractable leash, most importantly, is highly unsafe for your dog and you, plus by design, it's impossible to achieve the smooth control and collaborative loose leash walking communications you can develop with your dog when you use a proper leash.)
- An already conditioned marker. The marker is the sound or word that indicates to your dog that he/she has done something that will earn reinforcement aka a high-value reward. Your marker is always followed with a treat and praise. I tend to use a clicker when teaching a new skill, but also use the word “yes!” in some situations.
- Your dog! Preferably in happy, relaxed mode - which is, of course, when every dog learns best.
Try this
If you don't already have, buy lots of small and smelly treats. A treat pouch, harness and 6 ft leash for your dog. Remember, no retractable leashes!
Now that your equipment and training partner are all set, here's how to get started training your dog to walk on a loose leash…
*follow-panel
Step 1: Begin in a low distraction environment
The best place to start leash training is in your house. If you don’t have enough room, you can try the backyard, but it’s preferable to start leash training inside first. After you and your dog are solid with your loose leash training and you're well prepped for distractions coming from any direction, you can take it on the road.
Try this
Find a place in your house or apartment to start training.
Step 2: Take a moment to figure out your mechanics
Which hand are you using to hold the leash? Which hand will you use for treating? What is your “home base” for your treat hand? (Where your treat hand will be between delivering treats - it’s important that you move your treat hand back to this place consistently vs holding the treats at your dog’s nose level. If the treats are too perceptible, your dog will stop paying attention to anything else).
Try this
Practice your hand motions. Which hand will hold the leash, which hand will give the treat to your dog, and where will you put your treat hand in between treats?
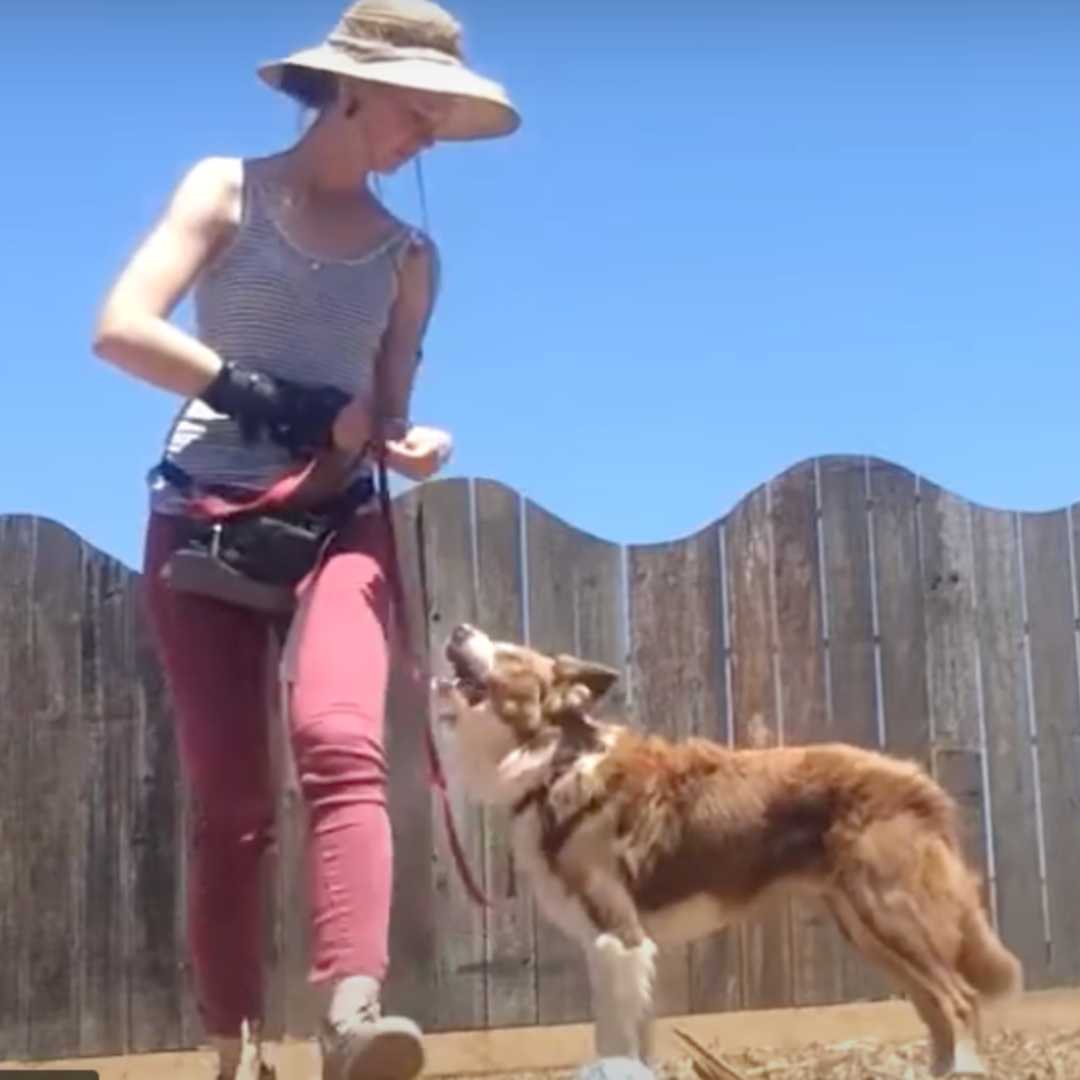
Step 3: Position your dog to set up your pup for success
Place your dog on your preferred side (you can lure this if needed) and ask her to sit - it’s fine to practice on both sides if you’d like your dog to be able to perform the behavior on dog walks either way, but for this training session, we’ll keep your dog on that specific side. We want to avoid any crossing over which can get tangly!
Try this
When you’re ready, let your dog know you’ll be moving with a verbal cue like “let’s go.” Then step forward and IMMEDIATELY click (or verbally mark if you have great timing) and treat. Why immediately? Because we want to catch as many moments when your dog is walking beside you with no tension on the leash. That first step is a great opportunity to catch this before your dog has the chance to get sidetracked!
Deliver the treat directly beside your leg.
Your Dog's Plan
Stop! Don't read this long article. Instead, get everything you need to know, including all advice on Leash Manners, in a customizable step-by-step plan for your dog created by our community of certified trainers and nutritionists.
Step 4: Reward your dog well and continue rewarding often
Continue to walk and click/treat each step or two. This is a very high rate of reinforcement at first because we want to begin creating that strong reinforcement history right off the bat. Let's face it - out in the world, your dog will have lots of pretty great choices and be tempted to go for them if your treats aren't up to snuff and waaay more valuable than the sniffing, greeting, exploring temptations all around. Earning lots of reinforcement really quickly will help keep your dog in the game!
Try this
After several successful “laps” around the room, begin to vary your rate of reinforcement - for example, clicking every two or three steps, then waiting for five steps, then clicking for two steps, then waiting for seven steps, then five, then three, then seven, then ten, then four… We want to begin increasing the duration of this behavior, but we don’t want to make it progressively harder every single time. If we increase too quickly and in too linear a fashion, your dog will pick up that it’s getting harder and harder and his/her focus may wane.
Bonus points
Once you are comfortable with a reduced rate of reinforcement and your dog is still focused and happy, play around with changing your path - zig zag and move in different directions. When you mix it up on your dog, increase your rate of reinforcement again to keep him/her motivated! Once you’ve done a few silly maneuvers with that higher rate of reinforcement, you can start to vary it again.
Step 5: Capture focused moments by clicking/ rewarding anytime your dog offers a visual “check in” and looks up at you
We don’t need your dog to walk staring up at you the whole time, but it’s great to reinforce those moments when she/he offers focus. Getting those out in the “real world” will make it easier to communicate!
Try this
When your dog makes eye contact with you as you're training, click and treat to reward the check-in!
Walking
Need more advice? Browse all guides in the Walking Channel on topics like Leash Manners - created by our community of certified experts for you and your dog.
Next: repeat, reward, repeat, reward...
Repeat this training over several sessions (keep sessions short and frequent) and you’ll notice that you’ll be able to move through the steps more quickly each time.
Learn how to master leash training! From selecting the right equipment to rewarding effectively, get step-by-step guidance for training your dog to walk politely on a leash in this video.
Choose how you'd like to view this guide's video.
Action $19/mo
Get unlimited support and training, nutrition, and wellness plans created by the Advocates for your dog. Ask the Advocates questions, join their live group sessions, watch their videos, get all of their step-by-step guides, recipes, and special discounts on all products.
JOIN
Yearly $182/yr
Get a discount on unlimited support and training, nutrition, and wellness plans created by the Advocates for your dog. Plus the ability to ask the Advocates questions, join their live group sessions, watch their videos, get all of their step-by-step guides, recipes, and special discounts on all products.
JOIN
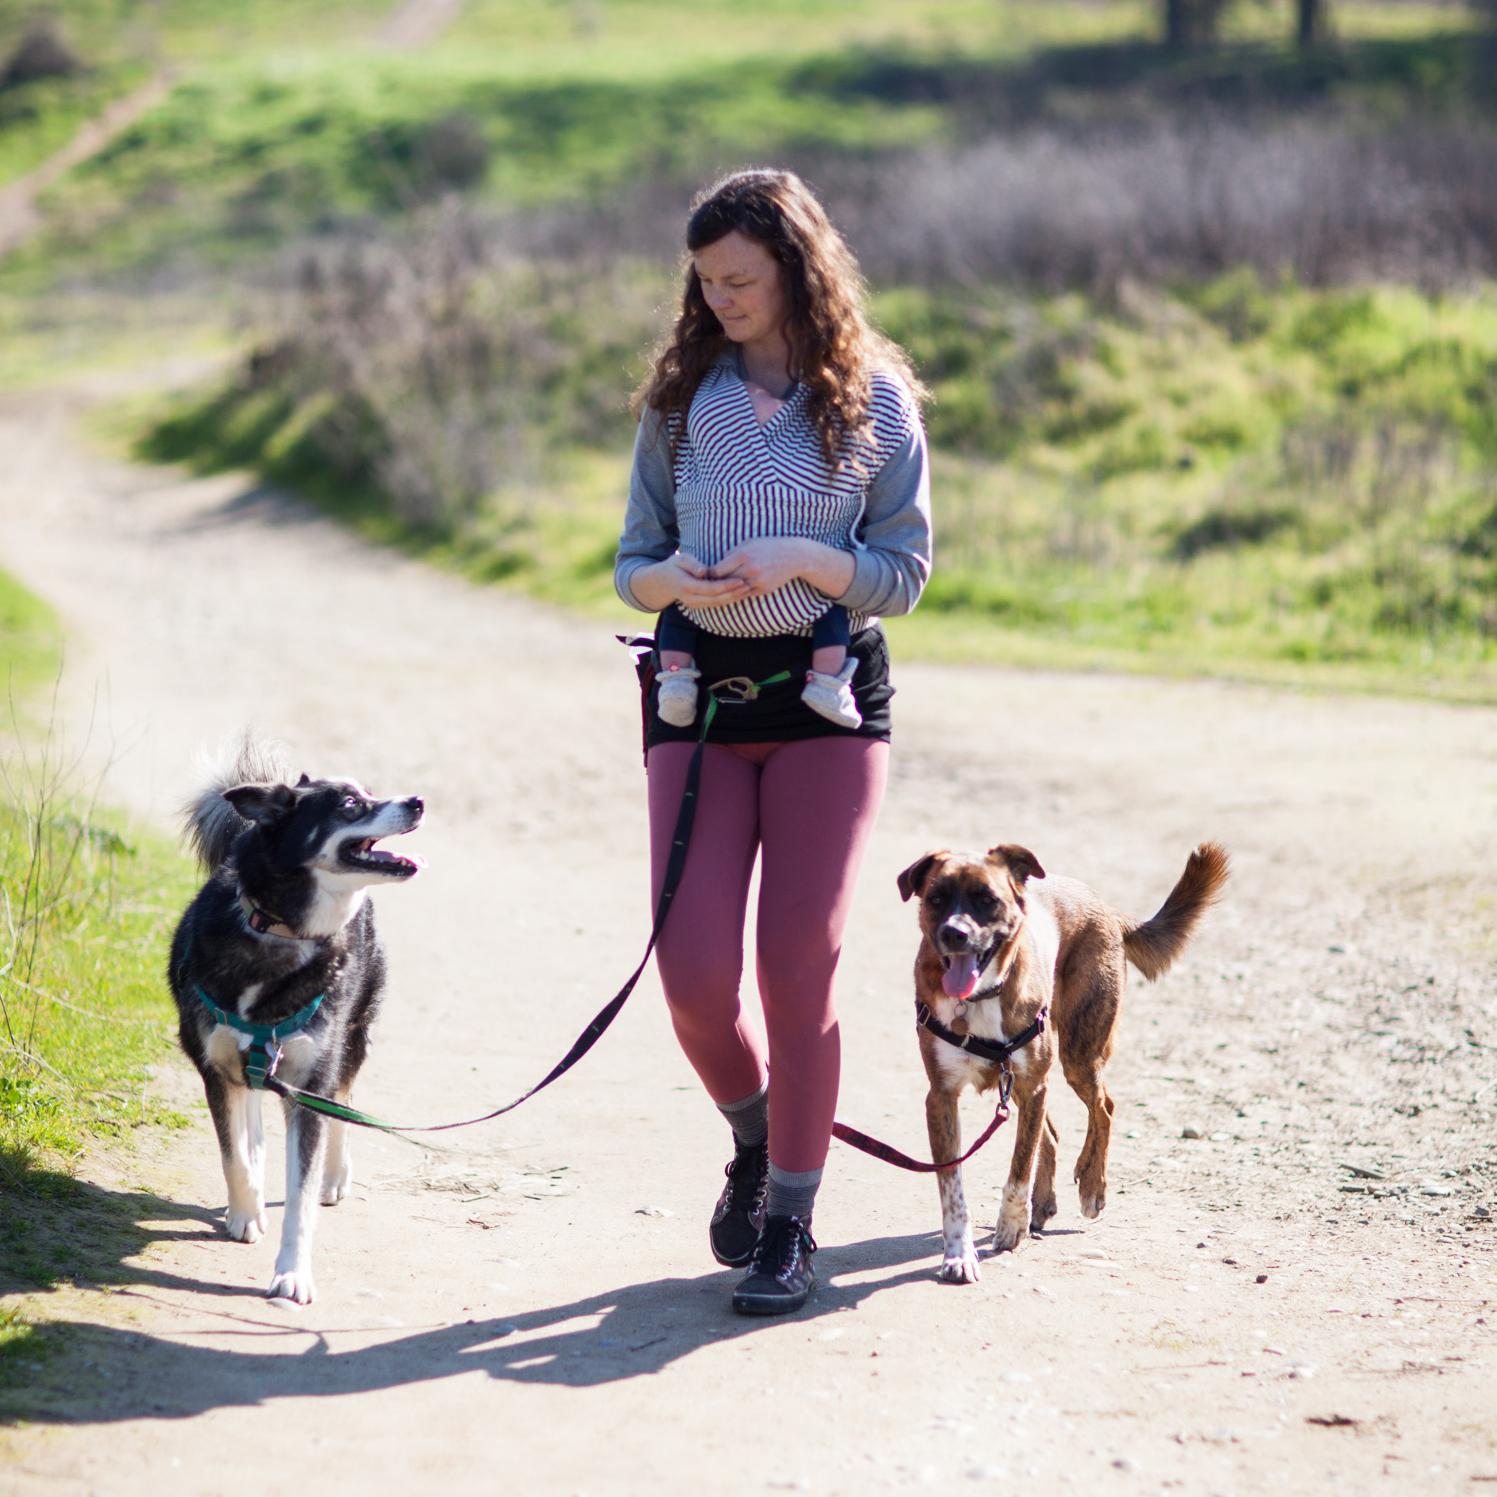
Next up in the Walking Channel on Dogly
Now that you've learned the basics to leash training, you’re ready to start training with some distraction and by varying the environment - many people are tempted to go from the house right into “real life” but this is a pretty big leap. Wait until your hard work pays off with a consistently successful pup. Once you have high confidence your dog will feel successful outside in the real world, you can make that jump.
Continue to the next guide in the Walking Channel if you'd like to ask a question in the Community discussion or start any of the other step-by-step guides.
And if you ever need more personalized training help, please reach out!
Tressa Fessenden-McKenzie of PathandPaw
Training Advocate
Dogly loves Tressa because she sees training as a journey to better canine communication.
Tressa guides you
Anxiety - Kids & Dogs - Manners - Bite Prevention - Reactivity - Walking
Tressa is certified
Karen Pryor Academy Certified Training Partner - & Family Paws Parent Educator